Creative Techniques For Editing Your Drone Video
![]()

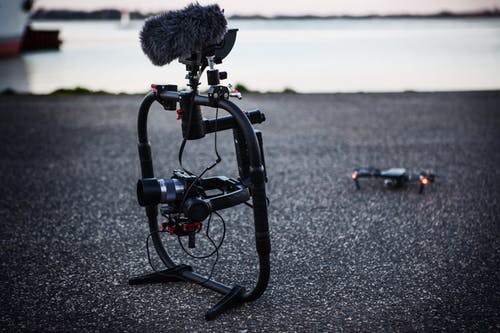
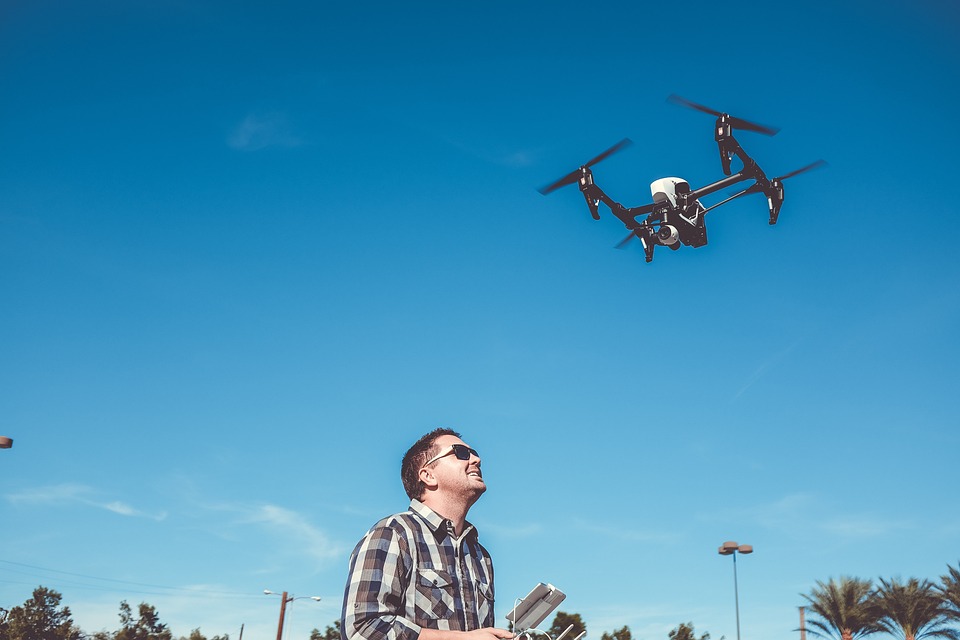
Once you get your drone in your hands, you start dreaming a lot about what you can do with it. But after shooting your first video, your dreams become shattered because your first flight movie appears like a disgusting, shaky, and shaggy footage.
Drone videos are so common on the internet these days. It’s become affordable and easy to use in the last few years. But not everyone can make the best out of it. If you really want to impress your viewers, you must have to have an idea about how to edit drone footage so that it becomes attractive. Here I’ll be writing about some creative techniques for editing your drone video to make it look professional. So, stay tuned.
1. Aerial Pan Shot
Pan shots are usually taken when the camera is set on a tripod. But while using a drone, gimbals are used in the case of moving the drone away from your position. It’s more difficult than a simple pan but the shot you’ll be getting is way much better. Many artists stay in ‘hover mode’ while panning to stay stable but to add some elegance in your footage, I recommend to do a pan left or a pan right while you moving the drone forward or backward. Just simply rotate your drone around the subject and there you got it!
2. Cinematic Effect
‘Widescreen’ Ratio is known as Cinematic Effect. We are used to watching the movies with the ‘black bars’ on the top and the bottom of the screen, thanks to Hollywood. This trick is used to create an illusion of a video shoot to the viewers’ eyes. The videos start to look cinematic automatically once it is letterboxed. To make your footage, you have to create a rectangle object and fill it with black end then duplicate it and place it at the and the bottom of your video.
3. Stutter Cut
High-quality cameras such as DJI Phantoms allow you to capture Ultra HD and 4K video. When you take a shot with high definition timeline with 1920×1080 settings, you can have a lot of space in your space to play with. When you’re doing a stutter cut, you’re essentially mimicking a cut as if you’re using multiple cameras in your shot. In fast-paced edits for projects like sports or fitness, the outcome of this technique is beyond description.
All you have to is finding the location, where you want to apply the stutter edit and then make a physical cut to the drone footage. You have to change the portion of the footage and then you cut in order to match the small sequence settings.
4. Graphic Overlays
A title or a text mask is the best way to start your video. This effect is widely used by professional video editors in travel videos or even on TV. Though it’s just some letters on the screen still it seems complicated to the newbies, drone video editing services can help you to achieve it in a short time.
5. Transitions
There’s a lot of possibilities to the variety of shots when you capture with your drone, such as takeoffs, drops, pans, flyovers, pushes, reveals and many more. You might have to face challenges to make your drone shots look smooth while straight cuts work in several situations to bridge your shots. Sometimes it looks jarring and harsh while the transitions between different types of footages. In this type of situation, you can use a simple cross-dissolve. This technique can make your edit look amazing, especially cutting between flyovers and landings. It adds a classic touch that smoothens the motion between several shots rather than looking harsh.
6. Color Correction
Color grading is the life of your video. With this technique, you can give it any kind of look you want. With the right use of it, your video gets really creative. It improves the appearance of the footage. Attributes like contrast, color, saturation, detail, black level, white point can be enhanced for your various kinds of shots.
7. Golden Hour and Blue Hour
Shooting at sunrise and sunset help your footage to stand out. Terrain features aren’t much visible during the afternoon. So the golden hour and the blue hour make the shadows highly visible and help to define the terrain features. By following this step you’re actually making yourself unique from other aerial footage out there because not everyone shoots at these times in film productions.
8. Make it look right
Don’t forget to recheck the main elements of the shots such as horizon and shadows. Your footage should look as natural as possible. Adjust the rotation value in your editing software, it makes your horizon straight.
Practice makes perfect. So keep practicing as much as you can. Fly as smooth as you can. Shoot more footage than you need. Keep in mind that your drone’s shadow might appear in your shot if you shoot during the golden or blue hour. It’s really disgusting when you don’t want it to be there. Just a quick reminder to point out while shooting.
Author Bio
John O. Brooks is a professional videographer. Working along with viddedit.com, he loves to write about photography and videography on the internet. He has vast experience in this field. He appreciates the simple things around him because life is so short to enjoy everything.
Image Source:
https://cdn.pixabay.com/photo/2017/08/06/09/03/flying-2590495_960_720.jpg
https://www.pexels.com/photo/shallow-focus-photography-of-black-quadcopter-near-body-of-water-753859/


